Requirements:
- Older version of OS X
- Downloaded Install OS X Mavericks.app. It can be downloaded through "Software Update" option (click on Apple logo on upper left > Software Update).
- DiskMaker X
- An empty 8GB SD card
- Users are also expected to have adequate knowledge in using Mac OS X platform.
Test Machines:
- Macbook Pro 15 Inch Early 2011
- OS X Mountain Lion (10.8.5)
Boot Disk Preparation Steps:
- Backup all your data to an external drive or Time Machine. Make sure the backup is working properly by trying to restore some files from the backup drive.
- Insert the empty SD card.
- Run DiskMaker X.
- When asked "A newer version of OS X is available. Do you want to download it.", choose "Not now" if you already downloaded "Install OS X Mavericks.app".
- When asked "Which version of OS X do you wish to make a boot disk of?", choose "Maverick (10.9)".
- When asked "I found a copy of the installer software in this folder: /Application", choose "Use this copy".
- When asked "Which kind of disk will you use?", choose "Another kind of disk".
- Select your SD card and hit "Choose this disk".
- Select "Erase then create the disk".
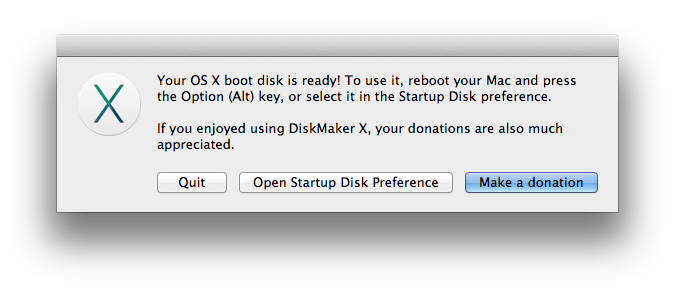
- Enter administrator password when asked. The copy process will take few minutes and eventually "Your OS X boot disk is ready!" message will pop up.

Mavericks Installation Steps:
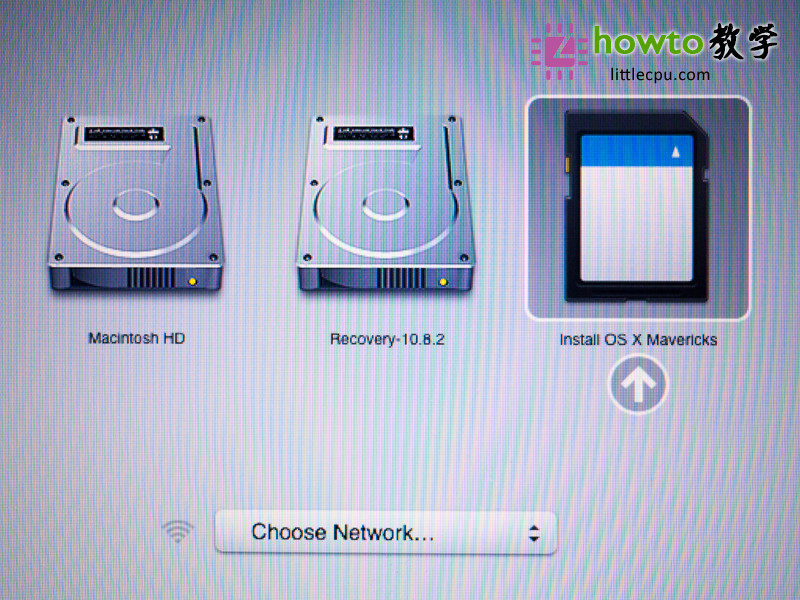
- With SD card still Restart OS X and hold "alt option" key until boot selection screen shown.

- Double-click on "Install OS X Mavericks" icon.
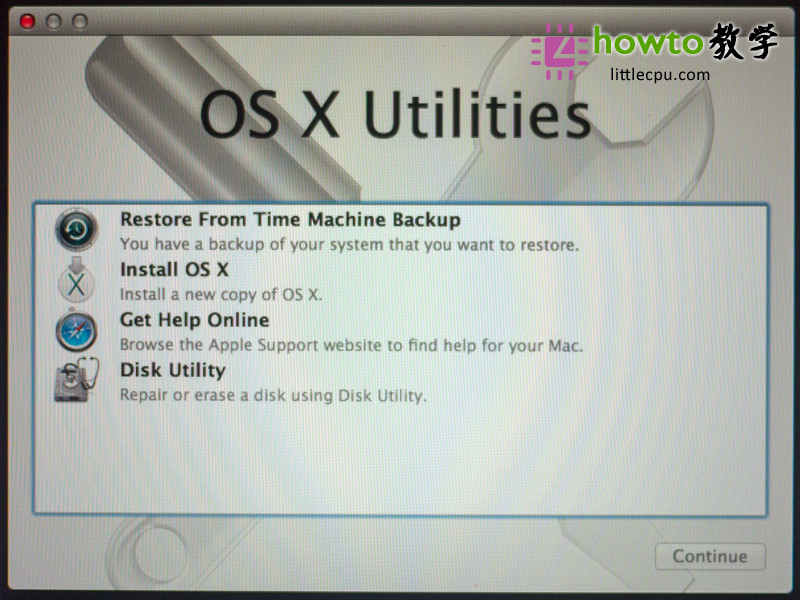
- Select "Disk Utility".

- From left panel, highlight your HDD entry (e.g. Macintosh HD) and go to "Erase" tab.

- Make sure Format is set to "Mac OS Extended (Journaled)". Give your HDD a name (usually I left it by default).
- Click on "Erase..." button. Note that at this point, your HDD is fully erased.
- Once the operation is completed, you will returned to the same Disk Utility screen. Close it by pressing "X" red button on upper left.
- You will return to the screen with 4 options. Select "Install OS X" this time.
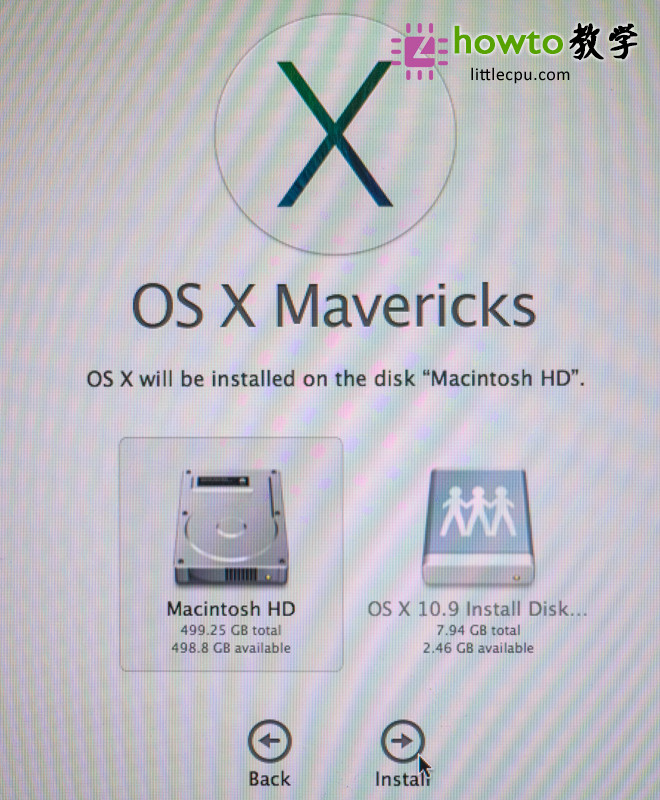
- The rest should be quite straightforward. When you are prompted to select installation destination, select your HDD.

- Installation will take few minutes and once it is done, you will be asked to transfer information to this Mac. You can do this now or later (for my case, I did it later).
Enjoy your new Mavericks OS.
