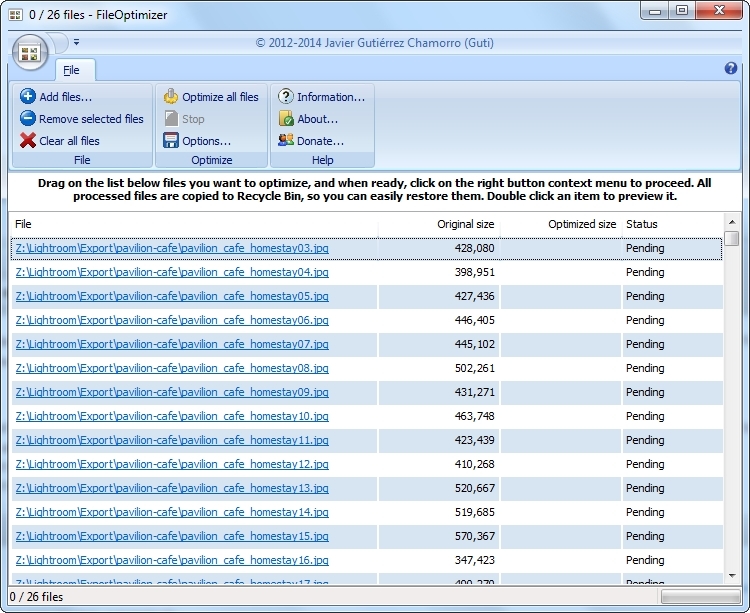
First of all, FileOptimizer not only able to further compress images without lossing image quality, but also able to compress documents, media, scripts, etc. Consider it an all-in-one tool for file optimization (hence FileOptimizer). In this article, I will only cover compressing JPEG images but procedures should be the same for other formats. The steps are pretty straightforward: drag files to the main window and hit "Optimize all files" buton.
Reference version: 6.50.302
Steps:
- Download and instlal the latest FileOptimizer from the official page. The download linke is located somewhere in the middle of the page. You will be redirected to a browser-like page. Just select the latest version and pick the EXE file to download.
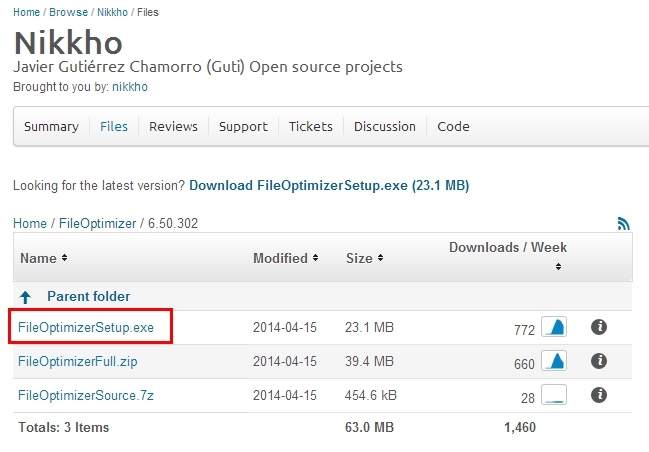
- There will be two instances of the application - x86 and x64 version. If you are using 64-bit OS, choose the x64 version.

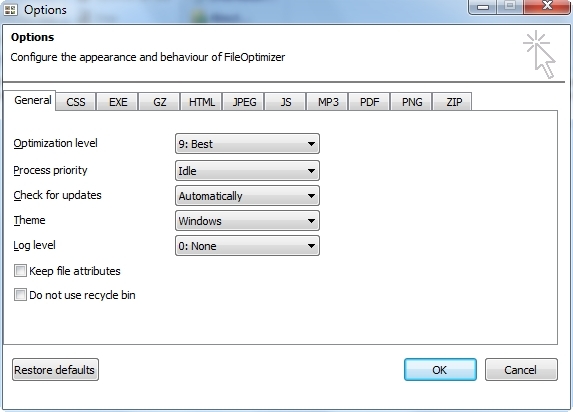
- If this is your first time using FileOptimizer, it is better to check some options first before optimizing files. Click on "Options..." button.
- Make sure Optimization Level is set to Best (this is what we are looking for after all).
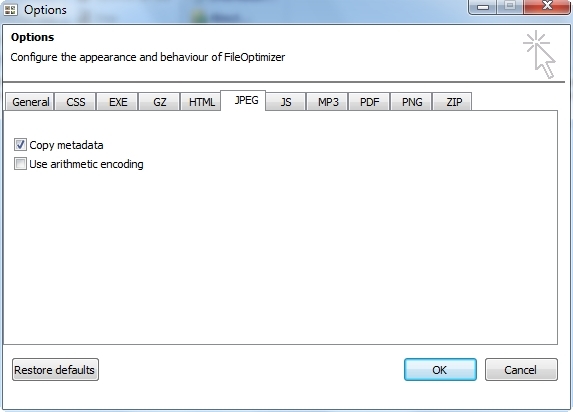
- If you are compressing JPEG files and would like to keep metadata, go to JPEG tab. Make sure "Copy metadata" is checked.
- Hit OK to go back to main window.
- Add files you going to optimize into FileOptimizer. You can also drag-and-drop from Windows Explorer to FileOptimizer window (which I usually did).
- Begin optimization by clicking on "Optimize all files".
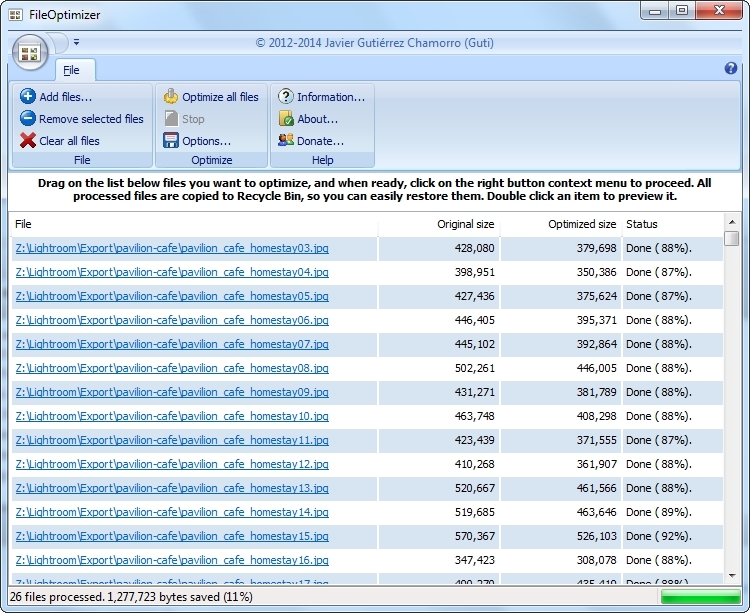
- Click "Clear all files" if you would like to proceed with next batch of images.
Note: Your exisiting files will be overwritten with the optimized version automatically.
